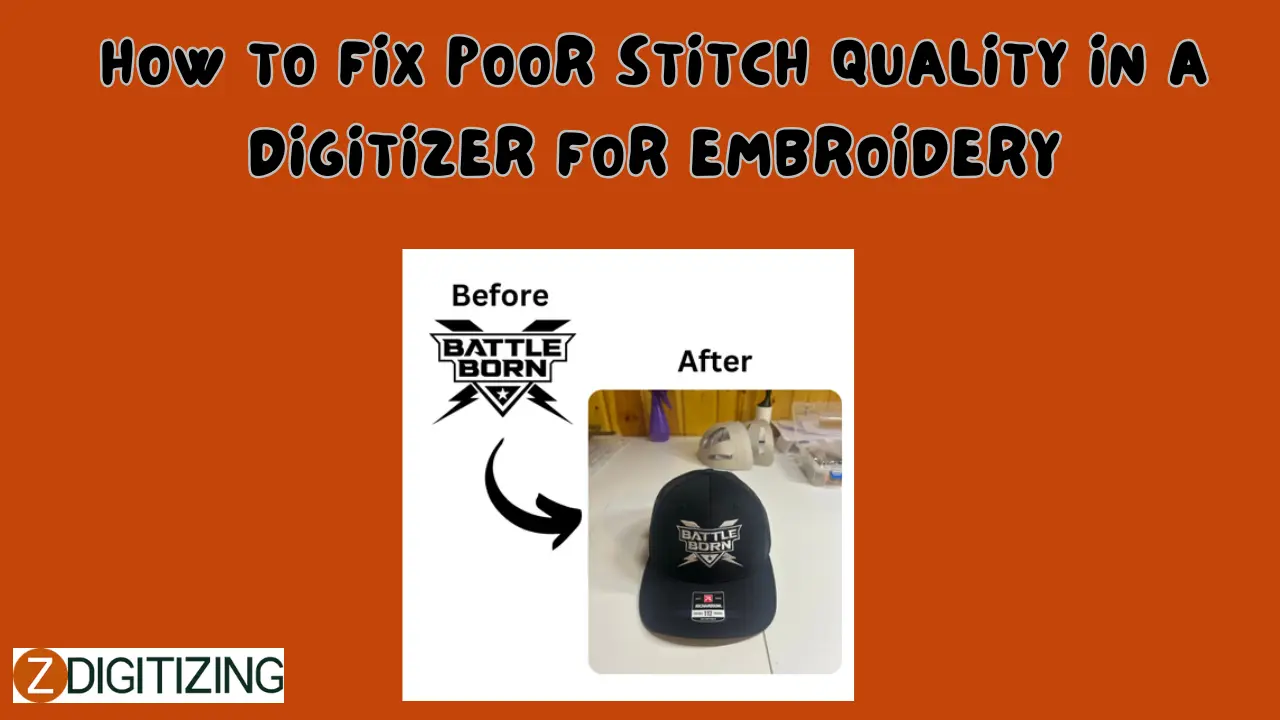
Embroidery is a craft that blends creativity with precision, but poor stitch quality can turn a stunning design into a frustrating flop. When using a digitizer for embroidery, issues like puckering, gaps, thread breaks, or blurry details can arise, often due to incorrect settings, fabric mismatches, or machine hiccups. How do you fix poor stitch quality in a digitizer for embroidery? This guide dives into the common culprits, offers step-by-step fixes, and equips you with the know-how to achieve crisp, professional results. Whether you’re stitching a logo or a decorative piece, let’s get your embroidery back on track.
Why Stitch Quality Goes Wrong
Stitch quality falters when the digitizing process—converting artwork into stitch instructions—misses the mark. A digitizer for embroidery, whether software like Hatch or Wilcom, demands attention to detail. Problems stem from stitch density, type, sequencing, or even the embroidery machine itself. Fixing these issues means tweaking your approach to match fabric, design, and equipment, ensuring every stitch lands perfectly.
Tools You’ll Need
To tackle poor stitch quality, gather these essentials:
- Digitizing Software: Hatch, Wilcom, Ink/Stitch (free), or Brother PE-Design.
- Computer: To run your software and adjust files.
- Embroidery Machine: With sharp needles (e.g., 75/11 or 90/14) and proper tension.
- Design File: High-quality artwork (SVG, PNG at 300 DPI, or sketch).
- Stabilizer: Tear-away, cut-away, or water-soluble, per fabric.
- Scrap Fabric: For testing fixes.
Step 1: Adjust Stitch Density for Fabric
Why It Matters
Too dense, and fabric puckers; too sparse, and gaps appear—density is a top culprit in poor stitch quality.
How to Fix It
- Light Fabrics (Cotton, Linen): Set density to 0.5–0.6mm—prevents stiffness or pulling.
- Thick Fabrics (Denim, Towels): Use 0.4–0.5mm—ensures coverage without sinking.
- Stretchy Fabrics (Knits): Opt for 0.6–0.7mm—allows flexibility without distortion.
- Test: Stitch on scrap—if puckering occurs, increase spacing; if gaps show, decrease it.
Tip
Preview density in your software’s simulator—catch issues before stitching.
Step 2: Choose the Right Stitch Types
Why It Matters
Using the wrong stitch type—like running stitches for fills—blurs details or creates uneven texture.
How to Fix It
- Running Stitch: For outlines or fine lines—keep at 2–3mm for smoothness.
- Satin Stitch: For text or narrow shapes (up to 10mm)—split wider areas to avoid bulk.
- Fill Stitch: For solid areas—moderate density (0.4–0.6mm) ensures even coverage.
- Refine: If details blur, switch to satin for small elements; if fills pucker, lighten density.
Tip
Test stitch types on scrap—satin shines for text, fills for blocks.
Step 3: Optimize Stitch Sequencing
Why It Matters
Poor sequencing—random stitch order—leads to overlaps, thread breaks, or misaligned layers.
How to Fix It
- Logical Order: Stitch fills first, then outlines—e.g., logo base before its border.
- Minimize Jumps: Connect nearby elements—stitch all red areas before switching colors.
- Check: Use your software’s stitch order tool—rearrange for a smooth flow.
Tip
Reduce trims—fewer jumps mean fewer breaks.
Step 4: Match Stabilizer to Fabric
Why It Matters
Without proper stabilizer, fabric shifts or sinks, ruining stitch quality—a common oversight in a digitizer for embroidery.
How to Fix It
- Tear-Away: For stable fabrics like cotton—light support for light stitches.
- Cut-Away: For stretchy knits—stays in, anchors stitches.
- Water-Soluble Topping: For textured fabrics like towels—lifts stitches above pile.
- Test: Stitch with stabilizer—if fabric pulls, switch to cut-away; if bulky, lighten it.
Tip
Hoop tightly with stabilizer—loose fabric distorts stitches.
Step 5: Test and Refine Your Design
Why It Matters
Skipping tests hides flaws—puckering, gaps, or breaks—until it’s too late to fix.
How to Fix It
- Run a Test: Export to your machine’s format (.DST, .PES, etc.) and stitch on scrap matching your final fabric.
- Check: Look for puckering (reduce density), gaps (increase density), or breaks (shorten stitches or slow speed to 600 SPM).
- Refine: Adjust settings—e.g., add underlay (zigzag or grid) for fills—and re-test until perfect.
Tip
Match test conditions—same fabric, same stabilizer—for accurate results.
Common Mistakes to Avoid
- Over-Density: Stiffens fabric. Fix: Lower to 0.5–0.6mm.
- No Underlay: Sinking stitches. Fix: Add light zigzag or grid.
- Ignoring Machine: Dull needles or bad tension. Fix: Calibrate and maintain.
Tips for Better Stitch Quality
- Start Simple: Practice with basic designs—master settings first.
- Preview Often: Use software simulators—spot flaws early.
- Calibrate Regularly: Fresh needles and tension checks—every 8–10 hours.
- Log Success: Note fixes—e.g., “0.5mm for cotton”—for future use.
Why Fixing Stitch Quality Matters
Poor stitch quality wastes time, thread, and fabric—fixing it elevates your work from amateur to pro. It ensures designs hold up through wear and washing, whether for personal projects or clients. In 2025, with tools like Hatch or free Ink/Stitch, a digitizer for embroidery is more accessible, but quality hinges on these fixes. Master them, and your embroidery will stand out—crisp, durable, and flawless.
Final Thoughts: Stitch with Precision
Fixing poor stitch quality in a digitizer for embroidery is about control—over density, stitches, sequencing, and fabric. These five steps—adjusting density, choosing stitch types, optimizing sequencing, matching stabilizers, and testing—turn frustration into success. Grab your software, load a design, and start refining. From smooth fills to sharp text, your embroidery is about to shine—every stitch a testament to your skill!
FAQs About Fixing Poor Stitch Quality in a Digitizer for Embroidery
Why does my fabric pucker even with a good digitizer?
Too dense—lower stitch density to 0.5–0.6mm and add stabilizer.
What stitch type fixes blurry text?
Satin stitch—keep it under 10mm wide for sharp edges.
How do I stop thread breaks?
Shorten stitches to 2–3mm and sequence logically—test to confirm.
Can free tools like Ink/Stitch fix stitch quality?
Yes—Ink/Stitch works if you tweak density and test thoroughly.
Why do my fills look uneven?
Wrong density or no underlay—set 0.4–0.6mm and add grid underlay.
Does stabilizer really affect quality?
Yes—mismatched stabilizer shifts fabric—use cut-away for knits.
How do I know if my machine needs calibration?
Skipped stitches or uneven tension—check manual, adjust tension.
Can I fix quality after stitching?
Tough—prevention is best; minor fixes might need hand-stitching.
How long does it take to fix stitch quality?
30–60 minutes—includes testing and refining.